10 Hacks for Cleaning Your Bathroom Efficiently
Cleaning your bathroom can feel like an eternity by the time you finish. We’re here to tell you it doesn’t have to take forever. We’ve gathered the ten best cleaning hacks to help you clean your bathroom quickly and efficiently.
From simple storage tricks to time-saving tips, these hacks will help you blast through your cleaning routine without sweating. Plus, your bathroom will look sparkling clean when you finish. So, read on and take notes if you want a clean bathroom you can be proud of in no time.
To ensure your bathroom stays fresh and looks its best, with minimal effort, it’s essential to know some simple yet effective hacks for cleaning it efficiently. This article will review the ten crucial steps for cleaning your bathroom in no time.
Supplies You’ll Need
You’ll need to gather all the necessary supplies for cleaning your bathroom. A selection of microfiber cloths, sponges, a brush, a mop or handheld vacuum, and protective gloves are essential for any successful clean.
Depending on what surfaces you need to clean and how dirty they are, you may need to use a particular cleaning agent. For surfaces such as enamel and glass, you may use a specialized bathroom cleaner; for more tough stains and dirt, an all-purpose cleaner can work wonders.
Pre Cleaning
Before beginning the cleaning process, make sure first to remove any clutter or items that should not be in the bathroom, like books or towels. This step ensures that things don’t get damaged in the cleaning process and makes it easier to reach every corner and nook when tidying up.
Once you remove everything from the space, use a broom or duster to remove dust or dirt from the surfaces and corners of your bathroom. Doing this allows you to identify areas needing extra attention or cleaning when tidying up later.
Cleaning the Toilet
Using a toilet scrubber with an attached long-handled brush, scrub the toilet bowl’s interior from the bottom up, making sure to reach all corners on the exterior too. Once done with that step, add some toilet cleaner into the water bowl and let sit for several minutes before giving it another good scrub with your brush and a lot of elbow grease!
After scrubbing your toilet bowl’s interior, move on to cleaning its exterior using protective gloves and either an all-purpose cleaner or a specialized bathroom cleaner product.
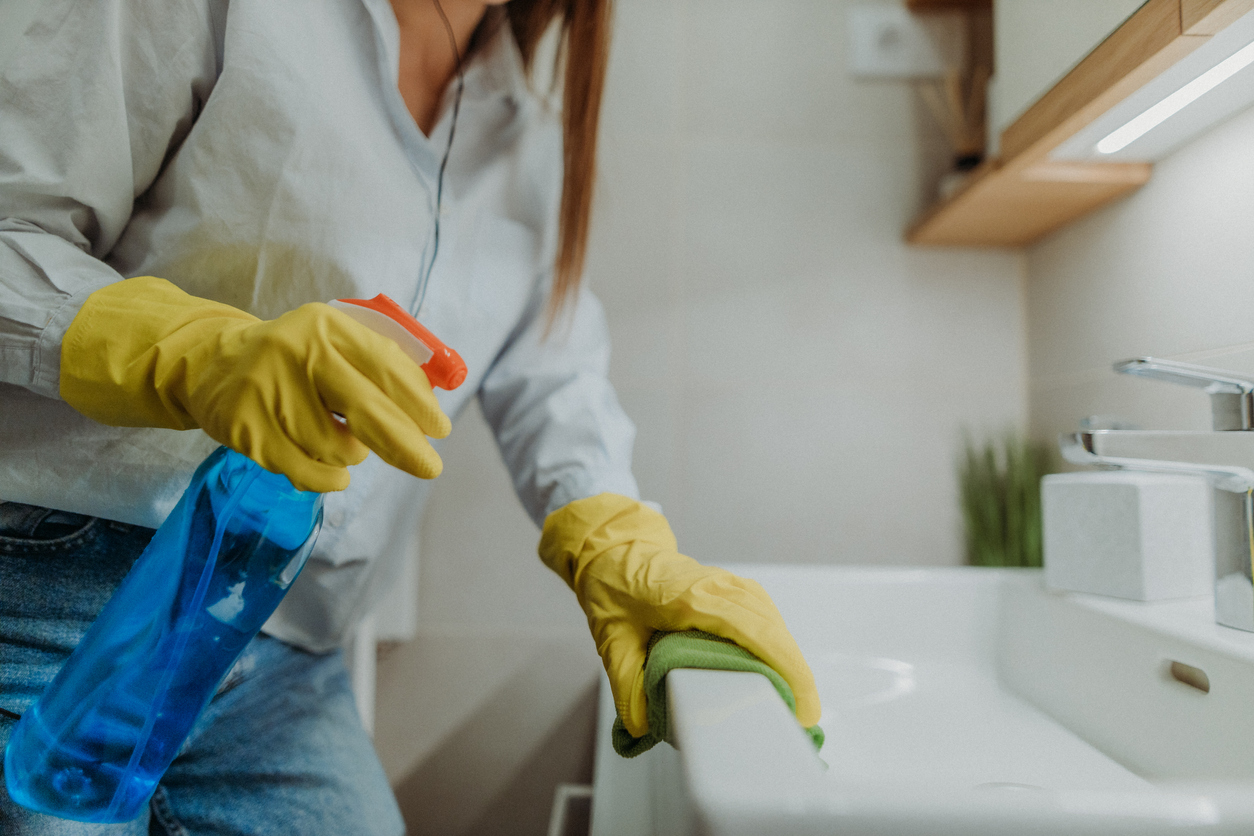
Cleaning the Sink and Fixtures
Start by clearing any debris, such as hairs that may have collected in or around your sink and fixtures, before thoroughly scrubbing them with soap and warm water.
After clearing out debris, start scrubbing down your sink surface. Fixtures like faucets use a sponge and warm soapy water while ensuring no soap residue is left behind after rinsing off with clean water afterward – this helps keep those shiny surfaces looking clean and prevents unwanted buildup!
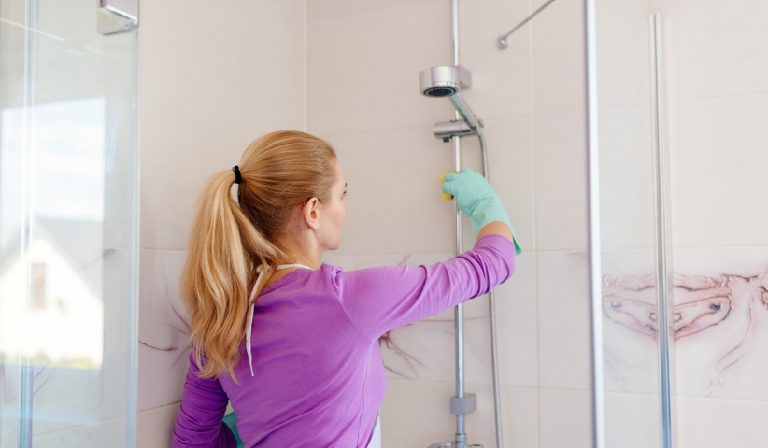
Cleaning the Tub and Shower
Begin using a hand brush or vacuum to remove hairs inside and around your tub or shower area. Then scrub them down with a sponge, warm soapy water, and bathroom cleaner for adamant stains if needed!
After removing hairs from the tub area, start scrubbing down all interior walls of your tub or shower area using a sponge dipped in warm soapy water. Ensure you clean each surface thoroughly without leaving any soap residue after rinsing it off with clean water afterward.
Cleaning Walls, Baseboards, and Counters
Before wiping down walls, use either a broom or duster to remove dust on these surfaces. Then, start by wiping these areas down gently, either with a sponge dampened in warm soapy water or an all-purpose cleaner, depending on how dirty they are, followed by rinsing them off afterward with clean water to prevent soap residue buildup!
Move on to baseboards next – start by brushing away any dust from these areas before wiping them down carefully using either an all-purpose cleaner (for tougher stains) or just some soapy warm water, followed by rinsing off.
Finally, move onto countertops – use an all-purpose cleaner here, too, if needed to be followed by wiping them down carefully with a clean damp rag and thoroughly rinsing off.
Cleaning & Polishing Mirrors & Windows
Before proceeding further, ensure all mirrored surfaces have been dry dusted off using either a soft cloth rag or duster – this helps remove any particles that may have collected on these surfaces before polishing them to protect them from scratches!
Once you clean the mirrors, begin polishing them using either window polish (for exterior windows & frames) or a specialized polished spray specifically designed for interior windows & mirrors. Spray window polish directly onto these surfaces and boundaries, ensuring every corner gets covered while not leaving any residue after wiping them clean with paper towels – this will help protect these fragile surfaces from dirt & grime build-up.
Cleaning Floors
Now that all dirt & dust is off the surfaces, it’s time to move on to floor cleaning. Begin by sweeping off floors first, then mopping them with water and some dish soap (or use an all-purpose cleaner if needed!) Ensure floors are clean without leaving residue after drying them off!
Lastly, finish up the floor cleaning process by vacuuming floors, ensuring every corner & crevice gets taken care of while ensuring no dirt is left stuck between fibers of carpets/rugs afterward.
Cleaning Ventilation System
Checking your ventilation is a crucial part of maintaining cleanliness within bathrooms. Start this step off by vacuuming vents within bathrooms first. Aim the nozzle downward while keeping your eyes open, as small objects such as screws can easily get sucked up while cleaning. Taking extra caution during this step can help prevent potential household disasters from occurring later on!
After vacuuming, move onto dusting vents using either microfiber cloths or rag duster. Take care not to press too hard against vent openings when brushing, as this can cause damage if done incorrectly. Taking extra precautions during this step is highly recommended to avoid future costly repairs!
Finishing Touches
After you finish cleaning, replace items in designated areas within the bathrooms, and try grouping similar items together to make finding them more accessible for future use. Organizing ahead can go a long way in ensuring quicker tidying up time during each visit!
Finally, finish wiping down the door handle, which many often forget. Wipe the handle using a microfiber soft cloth rag to ensure messy fingerprints, smudges, etc., get cleared away quickly without leaving any streaks behind. The results will be a gleaming, shiny-looking door handle entrance bathroom!
Conclusion
Cleaning your bathroom doesn’t have to be an endless task. You can do it efficiently and with minimal effort with tools and methods. The ten hacks outlined in this article are tried and tested to help you make quick work of your cleaning routine. Supplies to pre-clean the individual spaces in your bathroom will keep your area looking fresh. Use these tips, and you’ll be the proud owner of a spotless bathroom in no time.