How To Paint Surfaces Quickly and Evenly

If you’re planning on painting your room as a DIY (do-it-yourself project), you’re probably worried about one thing the most — applying it evenly across the wall(s). Ideally, you also don’t want to spend ages doing it, right? Well, all you need is some basic knowledge of the steps you need to follow, as well as a few key tips, and you’re set! This article will walk you through the entire process of getting it done neatly without wasting any time. Let’s begin!
Invest in a Roller
If you’re painting your room by yourself, then you’ve already saved up quite a decent chunk of money on labor costs. There’s no need to skimp out on painting equipment and make do with the bare minimum.
One of the biggest mistakes that newbie DIY enthusiasts make is to buy nothing but a wide paintbrush to apply the paint. If you only plan on using that to paint your entire room, then forget about evenness. Plus, it’ll take you a century to cover even a single wall with just a brush.
You need to have a roller to be able to apply wide strokes in a straight line, while also covering large sections of your wall in a matter of seconds. In fact, you probably need several rollers with different textured finishes depending on the type of wall design you’re aiming for.
Get the Essential Side Equipment
Without any prior experience in painting walls, it’s a rookie mistake to think that all you need is a bucket of paint, and some stuff like brushes and rollers to apply it with. Well, if that’s all you’ve got, then you’ll spend hours trying not to splatter the paint on the borders, furniture and carpet. Here’s a pro tip: don’t start painting your room without essentials like masking tape and furniture covers! It takes a few minutes to tape up the patches where you don’t want the paint to get and to cover up your furniture. After that, you can start working full speed without worrying about making a mess.
Shave Some Time off the Ceiling
Do you know which part of the room always takes the longest to paint? The ceiling. That’s because most people do it by climbing up a ladder, painting as big of a patch as they can, and repeatedly getting down and moving it until they’re able to cover the whole ceiling.
Well, beginners won’t know this, but there’s something called the telescopic handle that can massively extend your reach, which means you won’t have to get off the ladder and move it nearly as many times. This can easily shave a significant chunk of time from the total painting duration, and it’ll also help you apply it more evenly with fewer interceptions through a longer reach.
Cover up Inconsistencies With a Paint Sprayer
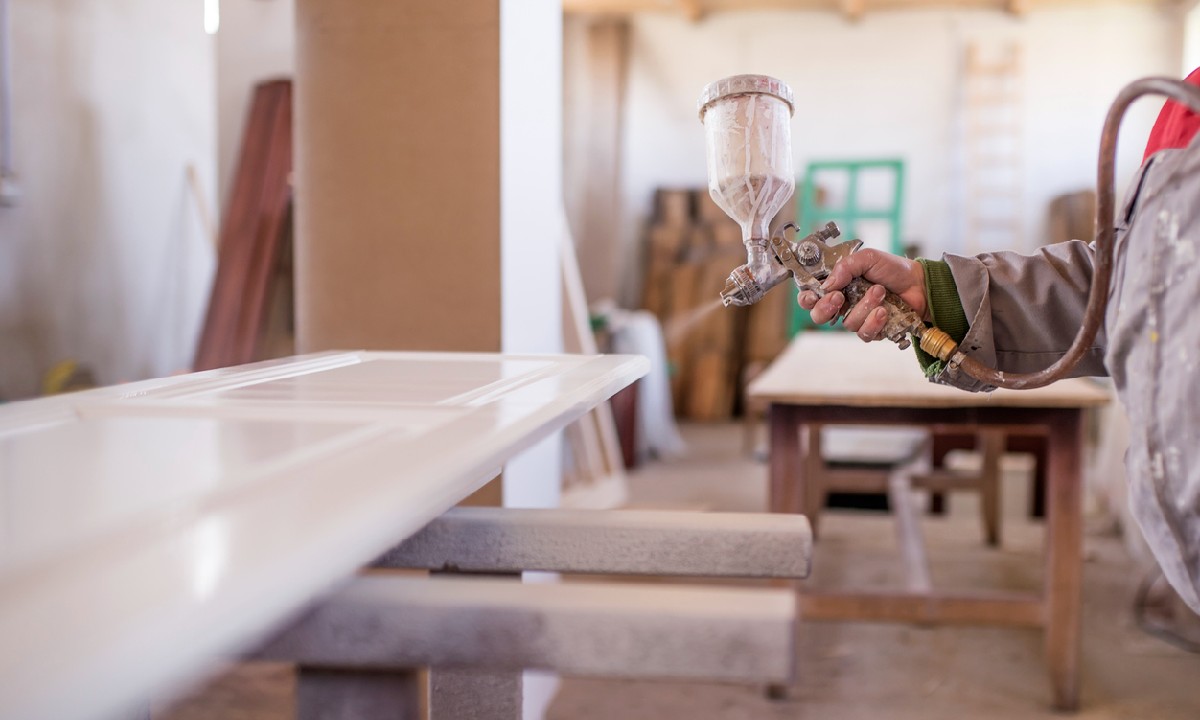
Regardless of how steady your hands are, you’re bound to make a few mistakes here and there in your first few rodeos. But, don’t worry — there’s always a way to fix those minor streaks! Just get a paint sprayer to evenly apply an additional coat of paint over the patch that looks a bit off, and let it dry. Since there aren’t any brushes or rollers involved, it generally smoothens things out very evenly.
Paint at Room Temperature
Did you know that heating and air conditioning can affect your paint’s drying times, which can potentially leave visible streaks on your wall? No matter how carefully you apply your paint in those intricate ‘W’ or ‘M’ motions, these streaks won’t let the result look even by any means.
So, be sure to paint your room at room temperature to get a premium-looking, streak-free look. We’d also recommend closing any windows or doors to make sure that wind and air drafts can’t dry up the paint any quicker on certain sections of the wall(s).
