Learn How You Can Install a Metal Railing in Your Home
A metal railing helps improve the aesthetic appeal of your house, but its real benefit is that it provides safety to your home and family members. Railings are a classic choice for any property because of their durability and adaptability. The timeless metal railing is a perfect fit for any area. It can even be used in office buildings or homes as a practical and aesthetically pleasing addition to any outdoor living area, providing protection and a sense of enclosure. They enable you to use your hands for more stability while walking up and down stairs. Also, they can be used around corners and in hallways, making transitions for pivoting easier. Whether you’re looking to adorn your deck or add height to your property’s perimeter, metal railings are a fantastic choice.
HOW TO INSTALL A METAL RAILING IN YOUR HOME
- First, protect the floor coverings in the area where the railing will be installed with drop cloths and put the sections of the metal railing on the floor end-to-end with intermediate posts in between. Then mark the top of a middle post with the rail brackets welded to each side near the top. Afterward, mark the bottom of the post with another pair of brackets four inches from the other end.
- Attach a floor bracket to the bottom of each middle post, and use an open-end wrench to tighten the set screws on each side of the brackets.
- Then, using a stud finder, locate the vertical framing elements inside the wall to which the wall brackets will attach. Mark the wall at the positions of the upper and lower metal rail brackets using an intermediate post affixed to the wall.
- Afterward, install a screw-tip attachment on a powered or cordless drill. Attach a wall bracket to each marked location by inserting two-inch screws into the machined holes at the bracket’s base.
- Insert the upper and lower rails at the same end of the initial railing section into the appropriate rail brackets on a middle post. Insert the opposite ends of the lower and upper rails into the brackets. Once done, lock the set screws on each bracket and securely tighten the set screws on each bracket.
- Then, align the post-bracket base’s outer border with the edge of a loft or balcony. Attach the base to each machined hole with two-inch screws to complete the first segment of the railing.
- Attach the top and bottom rails of the second part of the railing to the post frames on one finish of a middle post. Connect the opposite ends of the lower and upper rails to the rail brackets on the intermediate post. Then, section by section, continue placing the railing and intermediate posts. Align the post base along the edge of the loft or balcony and secure it with screws.
- Measure the length from the edge of the final installed post to the spot on the ground where the railing will end. Then trim the lower and upper rails of the final section of the railing to this length using a hacksaw.
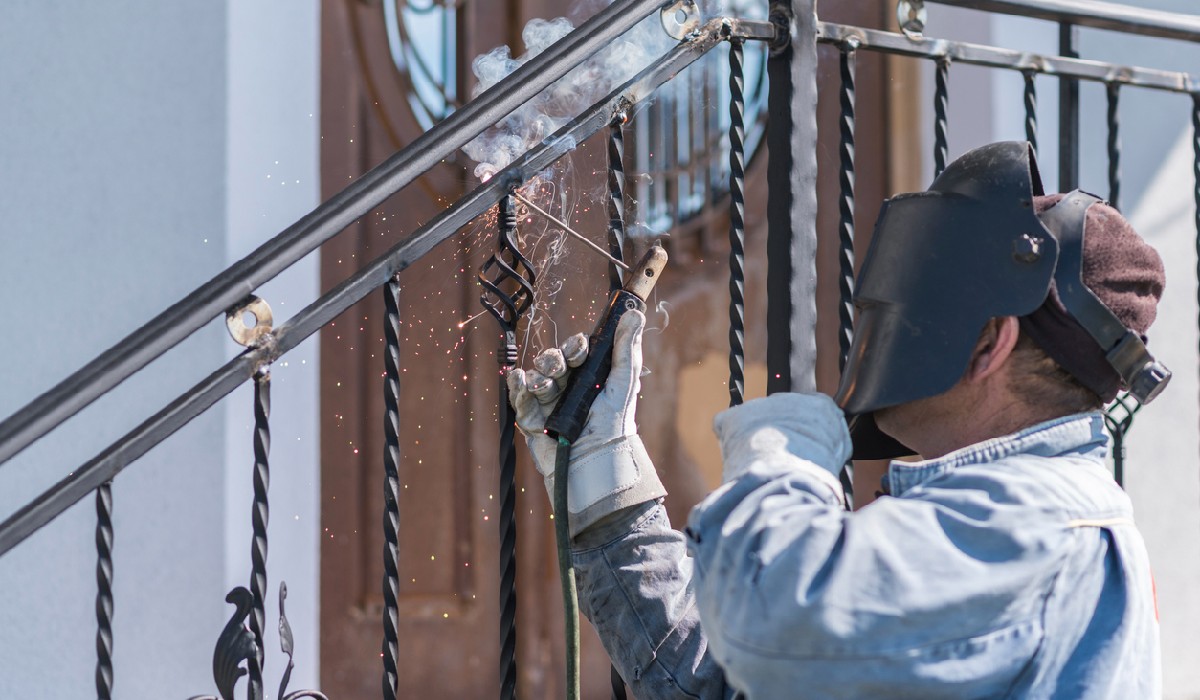
- Once done, attach a post base to an end post using rail brackets on only one side, as opposed to both sides for intermediate posts. Then, install the final railing component and the end post as before. For a more durable solution, using the best welding machine is a must-have to connect the various rail parts.
THE BOTTOM LINE!
Here is an easy process for installing a metal railing in your home. Metal railing may be put on virtually any structure with only a few tools, including brick walls, wooden supports, and metal poles. They require minimal ongoing upkeep and are compatible with most materials. Besides being an excellent ally for any homeowner, they require no varnishing, staining, or coating and are unaffected by temperature fluctuations, so they will not bow or buckle.